


Hanging Visuals and Lightboxes for High-Visibility Branding
Hanging visuals and lightboxes are effective signage solutions designed to capture attention from a distance and enhance brand visibility within large spaces. Commonly used in retail stores, shopping malls, exhibitions, and commercial interiors, these signage elements elevate visual communication through illumination and strategic placement. Metroplus designs hanging visuals and lightboxes that combine high-quality lighting with clean, impactful graphics. Our solutions are tailored to suit ceiling heights, spatial layouts, and brand aesthetics, ensuring optimal visibility without overwhelming the environment. By using energy-efficient LED technology and durable materials, Metroplus ensures long-lasting performance and consistent illumination. Across Dubai and the UAE, hanging visuals and lightboxes are widely used to reinforce branding, guide customers, and highlight key areas within commercial spaces.
For deeper technical specification guidance on the lighting inside hanging visuals and lightboxes, see our LED signage quality guide, our CCT and brightness controls guide, and our RGB and RGBW LED signage guide. Ready to specify a lightbox project? Request a technical signage review.
Choose a lightbox around the graphic and access method
The face material, viewing distance and graphic-change cycle should guide the lightbox construction.
| Option | Where to consider it | Questions for specification |
|---|---|---|
| SEG fabric | Tensioned printed graphics and planned changes | Fabric and print sample, tension, seams, frame access and approved application |
| Acrylic face | Rigid illuminated lettering or panels | Thickness, support, expansion, joints and removable access |
| Flex face | Larger tensioned illuminated graphics | Frame engineering, tensioning, weather exposure and face replacement |
| Edge-lit arrangement | A suitable shallow cabinet geometry | Model-specific depth and span limits, face uniformity and edge brightness |
| Backlit arrangement | Modules behind the graphic or diffuser | Depth, lens distribution, module spacing and shadows |
Approve uniformity before fabrication
A shallow cabinet needs a lighting layout matched to its depth and optical materials. Adding more modules without reviewing their positions can increase cost without resolving hotspots. Manufacturer guidance varies by module family; product-specific installation data should inform the layout.
Use a sample containing the actual frame depth, graphic, diffuser and LED arrangement. Inspect edges, joints and dense print areas. Agree any measurement method and uniformity criterion in advance, including the grid and treatment of margins. A photograph alone does not establish uniformity because camera exposure can conceal bright and dark areas.
Design for the next graphic change
Show how the graphic is removed and how the driver can be replaced after fit-out. Keep cable routes away from moving access panels, and identify isolation points and component references. Suspended units also require project-specific mounting coordination; a general claim of compliance should be supported by the relevant design and approval process.
Send Metroplus the dimensions, mounting location, artwork, expected graphic changes and control requirements. Request a proposal that explains the face construction, illumination, service access and project warranty schedule. See also LED signage quality, CCT and brightness controls and request a technical signage review.
Create Strong Visual Impact with Suspended Displays
Hanging visuals enhance brand presence while improving navigation and promotional awareness. Our solutions support modular graphics replacement, energy-efficient LED lighting, and secure mounting systems. Performance depends on the selected modules, drivers and installation conditions, which we confirm for each project before fabrication. A retail campaign display may need frequent graphic replacement; a permanent fascia may place greater weight on weather exposure, structural design and access to electrical components. Establish these requirements before choosing the frame depth or LED arrangement. If a future replacement changes the module, driver, print or face material, review the effect before assuming that the original appearance will be retained. When selecting a lightbox system, the right option depends on the application: SEG fabric suits tensioned graphics with planned graphic changes; acrylic faces give a rigid illuminated surface; flex-face suits larger applications when properly engineered; and edge-lit or backlit arrangements are chosen based on available cavity depth. We also plan the access method for graphic replacement, frame depth, CCT and brightness controls, and confirm structural mounting and site approval before installation so the finished lightbox is both evenly illuminated and serviceable.

Recent Projects
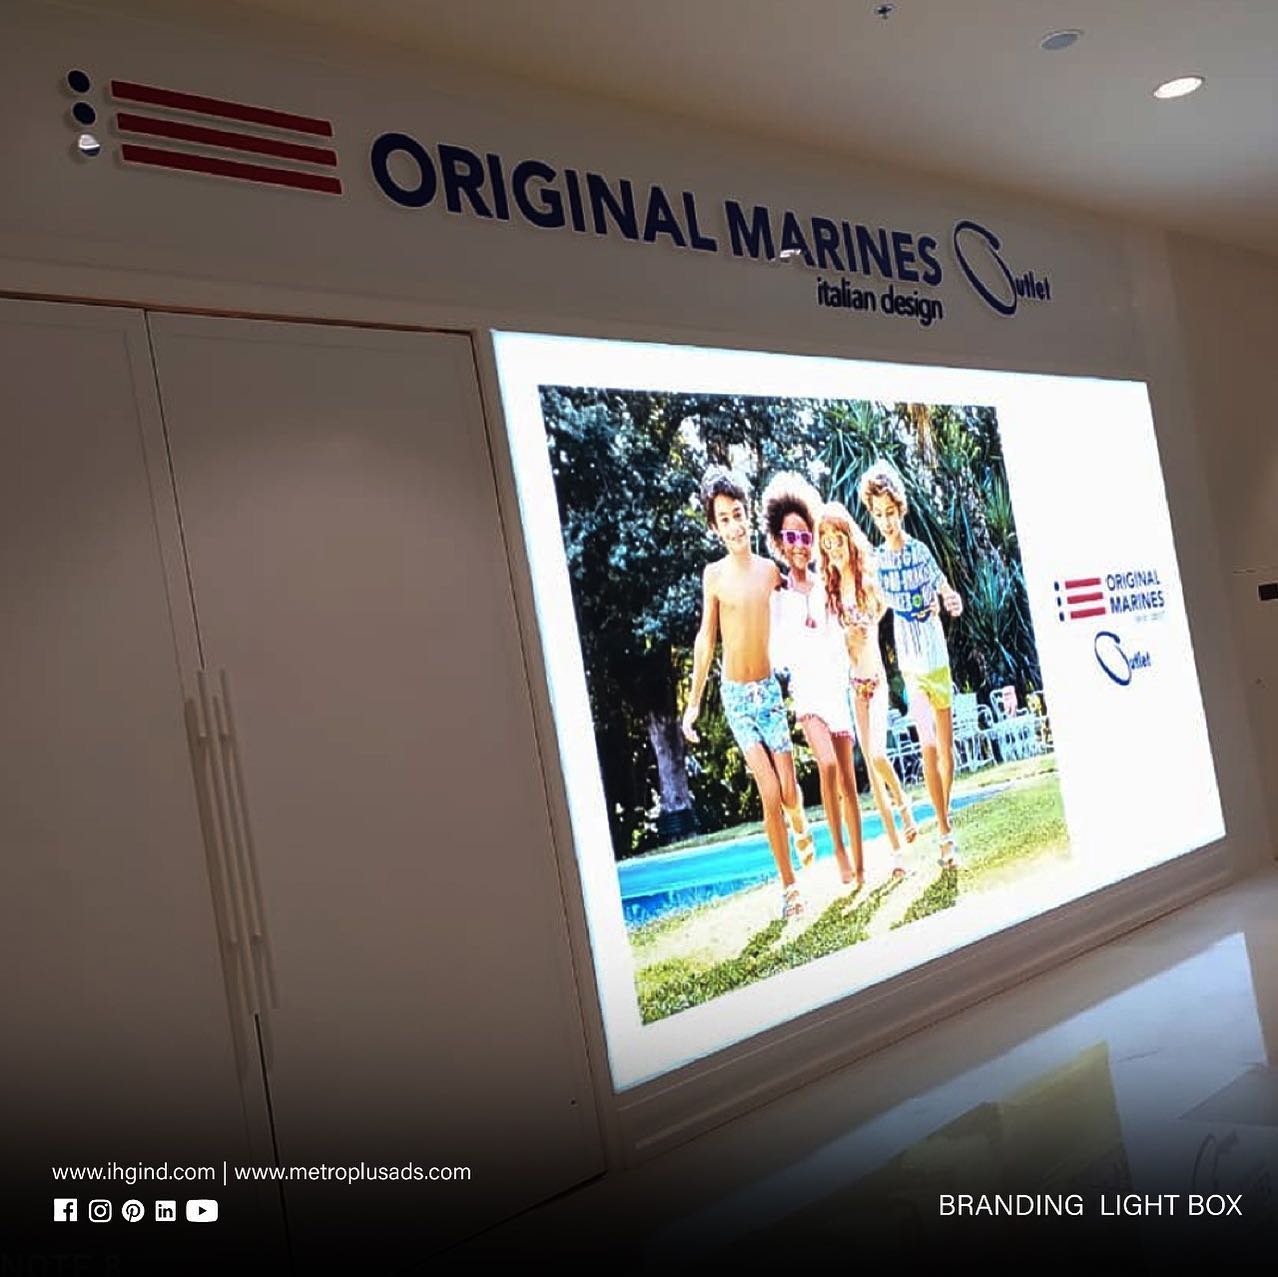
Original Marines, Dubai Outlet Mall
Metroplus delivered branding signage and a lightbox for Original Marines at Dubai Outlet Mall, the Italian kidswear brand. Scope of work Illuminated fascia branding signage Backlit lightbox with campaign graphic Fabrication and installation in the mall Made and installed by Metroplus The signage was fabricated at the Metroplus production facility in Jebel Ali and installed […]

Coral Perfumes, Abu Dhabi City Center
This project involved delivering professional retail signage solutions for Coral Perfumes at City Center Abu Dhabi.

Meralda Jewels, Meena Bazaar
Metroplus Advertising delivered customized retail signage solutions for Meralda Jewels at Meena Bazaar, Dubai.

Diya Gold & Diamonds, Safari Mall Sharjah
We delivered premium retail signage solutions for Diya Gold & Diamonds at Safari Mall in Sharjah.


FAQ
Choosing a Lightbox System
A lightbox is chosen by its face, its depth, how evenly it lights and how easily the graphic can be changed. We review these against the wall, ceiling or window where it will be installed.
Face and frame options
Printed acrylic, fabric and film faces in slim or deep frames, matched to the viewing distance and brand finish.
Illumination uniformity
Module layout, cabinet depth and diffuser are reviewed together so the face lights evenly without hotspots.
Graphic replacement
Front-opening, snap-frame or tensioned fabric faces decide how quickly a campaign graphic can be changed.
Mounting and service access
Wall, suspended and window installations are planned with access to drivers and wiring for future service.
Face-lit, halo-lit or lightbox?
Each option changes how the sign looks by day and night, how deep it is and how it is serviced. Select the one closest to your design and we will review it against your site.
Your design
Descriptions are reviewed guidance, not a photometric calculation or an approval of visibility, structure or compliance.
Specify the next graphic change before approving the lightbox
Record who will replace the graphic, how the face opens and what working space is required.
Confirm whether the driver can be accessed without disturbing neighbouring finishes, and show the access method on the shop drawing and sample. Review the lighting through the actual printed face or diffuser at the intended depth, and keep the approved arrangement in the handover record.
Access panel
Show how the face opens and where the working space is.
Face and depth
Review the printed face or diffuser at the intended cabinet depth.
Lighting arrangement
Record the approved module, driver and control settings.
Handover record
Keep the approved arrangement for future replacement and service.
Lightbox graphic measurement checklist
A replacement graphic must match the frame and the way the face is retained. The visible opening alone may not give the full production size, so send these details before artwork is printed.
Frame type
Overall photo plus a close view of the edge or opening method.
Opening versus production size
Visible size and any edge or tension allowance.
Edge system and artwork proof
Fabric edge or rigid face, and the approved artwork revision.
Permitted access
Working hours and how the frame can be reached safely.