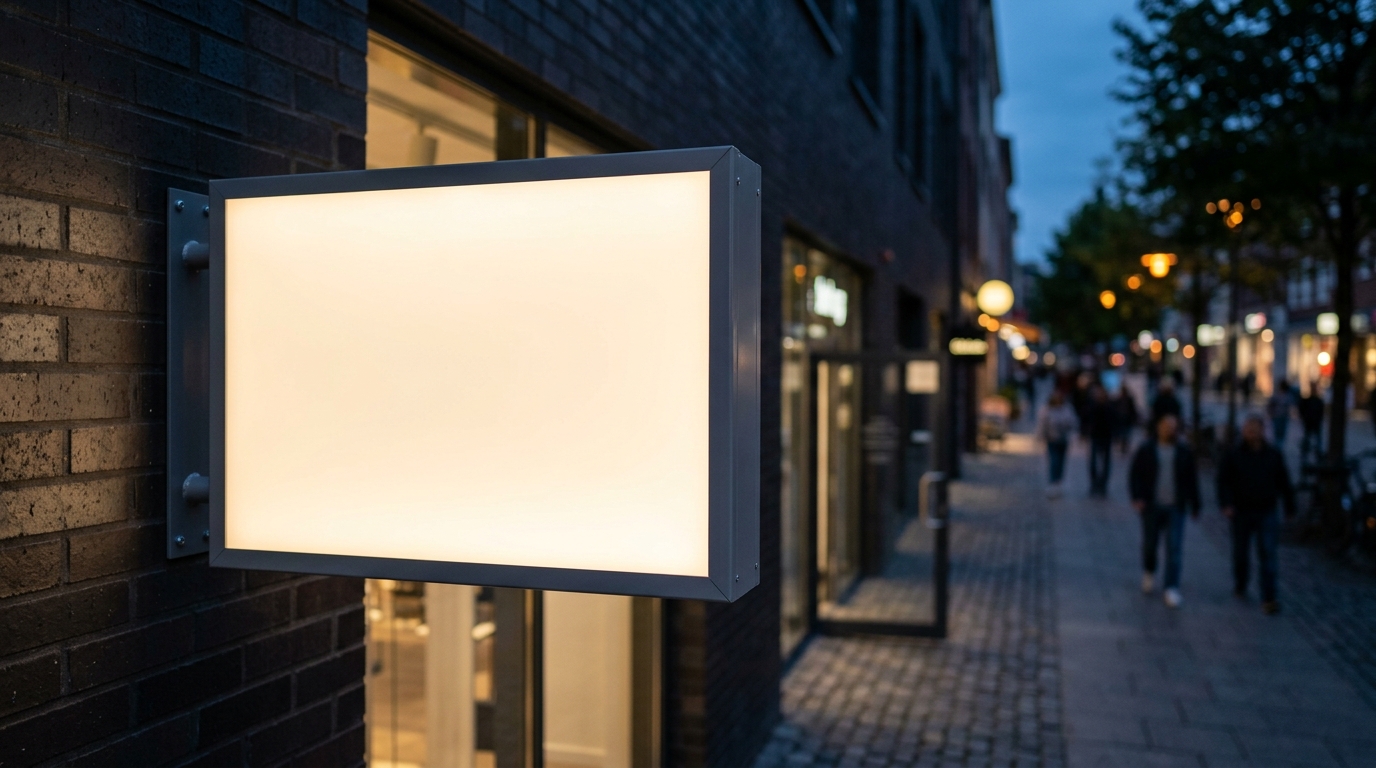
Acrylic is one of the most widely used substrates in commercial signage — letterforms, panel signs, illuminated fascia, and lightboxes all commonly start as a sheet of cast or extruded acrylic. The finished result looks simple, but getting clean edges, accurate cuts and even illumination requires a specific sequence of fabrication steps, each with its own tolerances and failure points.
Step 1: Material selection
Cast acrylic and extruded acrylic are not interchangeable, though both are commonly called “acrylic” or “perspex” on site. Cast acrylic is poured and cured in sheet form, giving it better chemical resistance, more consistent optical clarity, and better machinability — it tolerates laser cutting and edge-polishing better with less risk of cracking. Extruded acrylic is manufactured in a continuous process, is generally cheaper, but has more internal stress and is more prone to cracking during machining or thermoforming. For illuminated letters and edge-lit panels where optical clarity and light diffusion matter, cast acrylic is the standard specification; extruded acrylic is more often used for flat panel signs and lower-cost applications.
Step 2: Cutting
Two methods dominate: CNC routing and laser cutting. CNC routing uses a rotating cutting bit to physically mill the shape, suited to thicker sheets (typically above 10–12mm) and jobs requiring 3D profiling or bevelled edges. Laser cutting uses a focused beam to melt/vaporise through the material, giving extremely fine detail and a naturally polished edge on cast acrylic (the heat of the laser fire-polishes the cut edge as it goes), making it the preferred method for intricate letterforms and logos up to moderate thickness, typically under 20mm for practical cutting speed.
Step 3: Edge finishing
Where a laser cut doesn’t leave an acceptable finish (thicker material, or a CNC-routed edge which is left slightly matte from the cutting bit), edges are polished separately. Flame polishing passes a controlled flame along the cut edge, melting a thin surface layer to a glass-like clarity — fast and cost-effective, but risks minor edge distortion if not controlled precisely. Diamond/mechanical polishing uses progressively finer abrasive buffing wheels for a more controlled, distortion-free optical finish, generally the better choice for high-visibility letterforms viewed up close.
Step 4: Printing, vinyl application or paint
Graphics and colour are applied through one of several methods depending on the design:
- Direct UV printing — ink is printed straight onto the acrylic surface, suited to full-colour graphics and photographic imagery
- Vinyl application — cut or printed vinyl film is applied to the surface, common for solid colours, text, and where the sign may need graphic updates later
- Second-surface printing — graphics printed on the back face of clear acrylic, viewed through the material, which protects the ink from surface abrasion
- Spray paint/masking — for solid opaque colour fields, particularly on returns (the edge depth) of built-up letters
Step 5: Assembly and illumination integration
For illuminated signs, this is where the fabrication gets structurally complex. Built-up acrylic letters typically consist of a face, a return (the side wall, usually aluminium or acrylic), and a back, assembled with the LED modules mounted inside on a backing plate. Edge-lit panels route light from LEDs positioned along the panel edge, relying on the acrylic’s internal reflection properties to distribute light evenly across the face — this requires either a diffusion layer or laser-etched dot pattern on the acrylic to scatter light evenly rather than leaving hot spots near the LEDs. Power and control wiring is routed and tested before the sign is sealed, since post-assembly access is limited or impossible on a fully bonded unit.
Fabrication tolerances that matter
| Stage | Typical tolerance consideration |
|---|---|
| CNC/laser cutting | ±0.1–0.3mm on cut dimensions depending on machine and material thickness |
| Letter return depth consistency | Uniform depth across all letters in a set, critical for even shadow lines and LED spacing |
| LED spacing behind acrylic face | Must match acrylic thickness and diffusion method to avoid visible hot spots |
| Bond line thickness (acrylic-to-acrylic solvent welding) | Thin, even bond lines needed for a clean, near-invisible seam |
Quality control before installation
Illuminated units are typically powered and inspected in the workshop before delivery — checking for even light distribution, colour consistency across LED modules, and confirming no visible hot spots or shadowing — since these defects are far cheaper to correct on the bench than after mounting on a facade.
FAQ
What acrylic thickness is typical for illuminated signage?
Commonly 3–10mm for faces depending on size and illumination method, with returns often in a separate material (aluminium composite or thicker acrylic) for structural rigidity.
Is laser-cut acrylic stronger than CNC-routed acrylic?
Strength is largely determined by material grade and thickness, not the cutting method; the main difference is edge finish quality and achievable detail level.
How long does acrylic signage last outdoors in the UAE?
UV-stabilised cast acrylic typically performs well for many years outdoors in the UAE climate, though colour and clarity should be checked against the manufacturer’s UV rating for direct sun exposure applications.
Can acrylic signs be repaired if cracked or yellowed?
Minor surface issues can sometimes be polished out; structural cracks or significant yellowing generally require panel replacement rather than repair.
What causes uneven LED lighting behind an acrylic face?
Usually insufficient LED spacing relative to acrylic thickness, or inadequate diffusion treatment on the acrylic surface, both of which should be tested at the fabrication stage.
Metroplus fabricates acrylic signage in-house, from cutting and edge finishing through LED integration and installation. Contact us to discuss your sign specification.
Recommended Posts
LED Signage Retrofit: Repair or Replace Your Lighting
Should you repair, retrofit or replace an illuminated sign? An unlit or uneven sign does not always need complete replacement. It may need a local rep...

Signage Vendor Checklist for Architects and Consultants
A signage vendor checklist for architects and consultants Selecting a signage vendor requires more than comparing a finished photograph and a lump-sum...